一. Start a project
1. Start with boilerplate
复制一 个 Boilerplate 的项目。
删除之前的 Git,并且开始一个新的 Repo。
在 Terminal 里输入:
$ rm -rf .git

$ git init
2. 启动项目
启动 Dashboard
项目为 newdashbaord
在 Termimal 中输入:
API_PROXY=http://localhost:3001 npm run dev
浏览器 access:
http://localhost:8080/admin/editor/
启动 Theme与 Shopfront
在 Termimal 中输入:
$ npm start
二. Theme 相关
1. 格式化、下载与提交 Theme
$ node cli
$ help
$ validate preset(查看需要validate的内容)
$ validate preset -f(正式validate)
$ format (format格式)
$ upload theme (上传theme)
$ download preset xxx (下载theme)

下载完theme后注意检查 static.json 文件是否存在
2. 如何使用 Icomoon Font
Iconmoon 官网链接:https://icomoon.io
1)写在开始前的注意点
一定要将 Icons 先在设计稿中转变为 Outline / Expand,否则导入会出错
每个 Icon 需要在设计稿中,用等大小的画板中导出,例如 16*16px,32x32px,或 64x64px,否则制作 Font 时,Icon 无法对齐
每个 Icon 的命名要以英文命名,不要有空格,单词间可用
-连接,且命名不得重复
2)上传 Icons 至 Iconmoon
- 进入 Iconmoon 后台后,点击左侧的菜单,展开后选择 New Empty Set

- 点击这个 New Set 的最右侧菜单,选择 View / Edit Info

- 选择 Edit Metadata
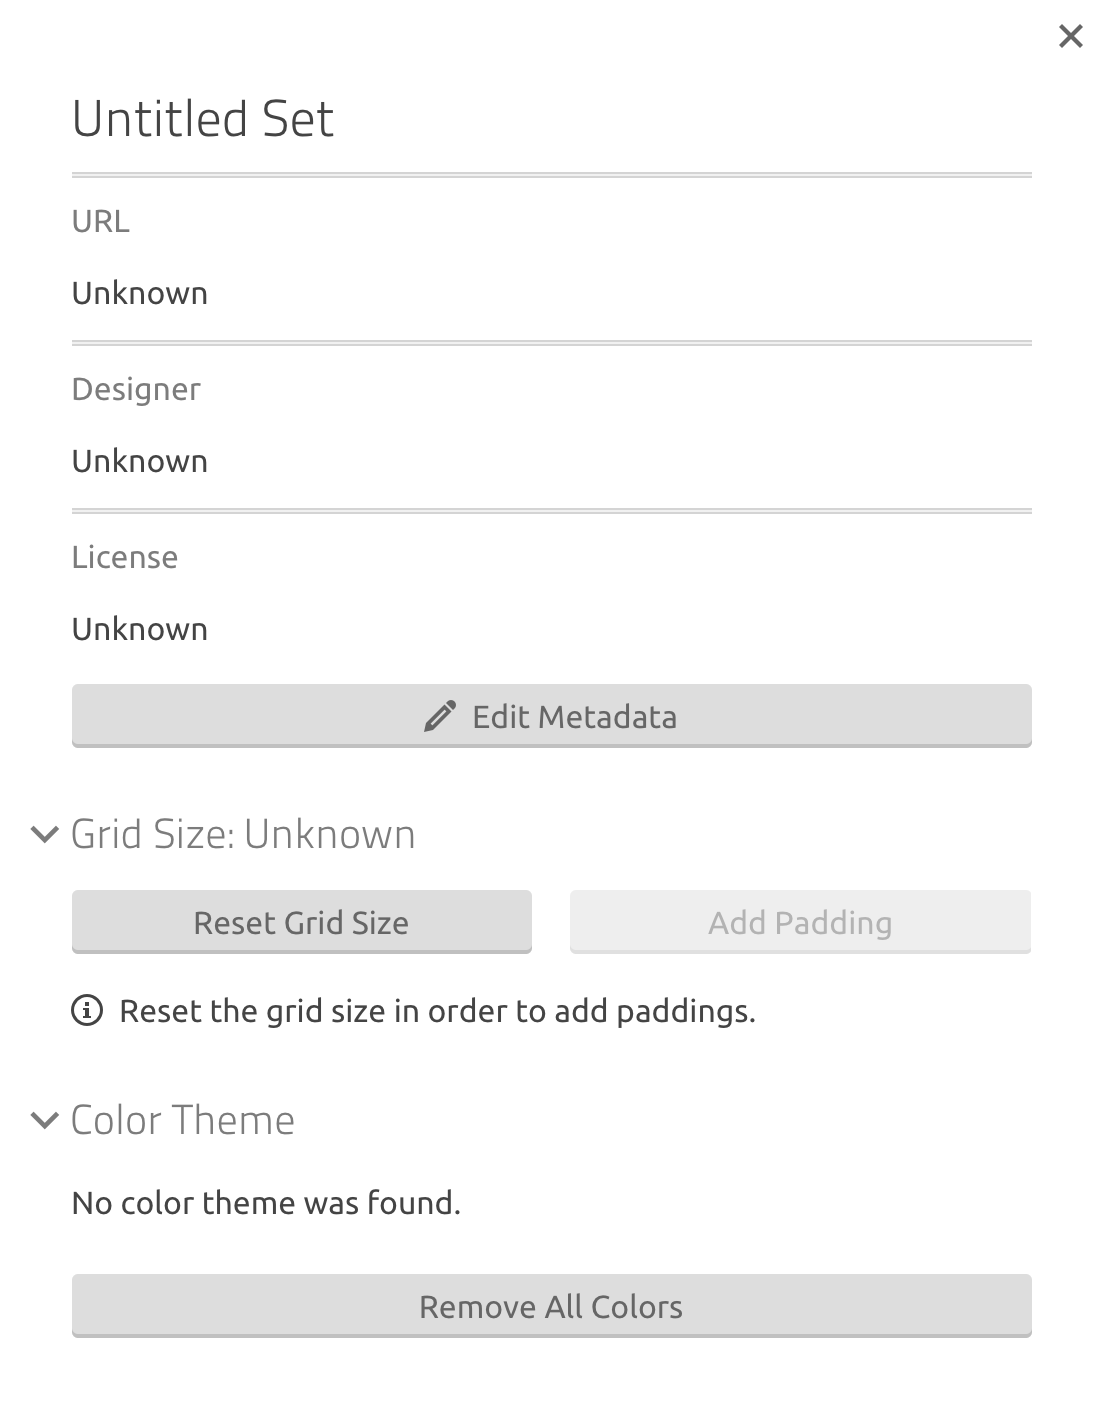
- 给这个 Untitle Set 重命名一下,比如是项目的名称
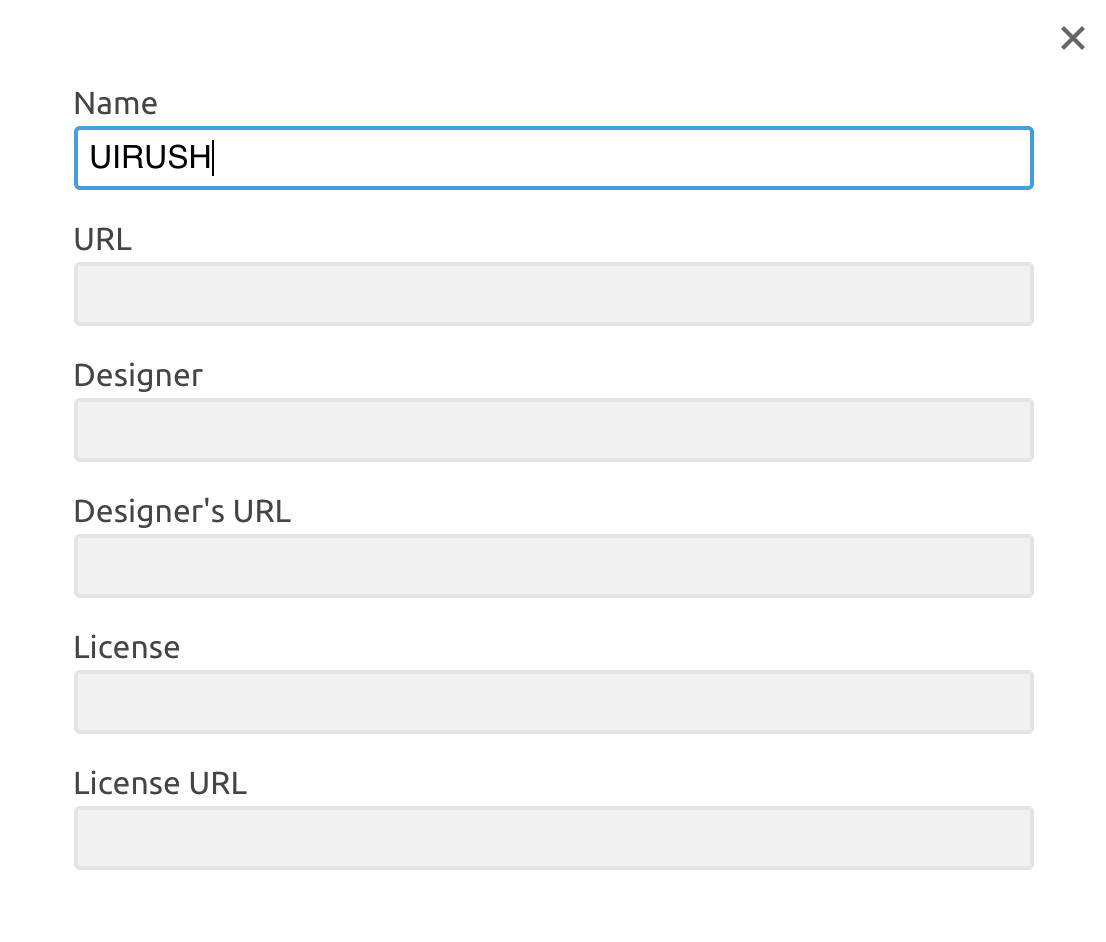
- 选择 Import to Set,选择本地待上传的 Icons

3)编辑 Icons
- 选择顶部菜单上的铅笔(蓝色选中区域)标志,可对 Icon 进行编辑

- 进入 Icon 编辑状态后,选择如下图的图标,选择 Remove Colors,可以给 Icon 去色
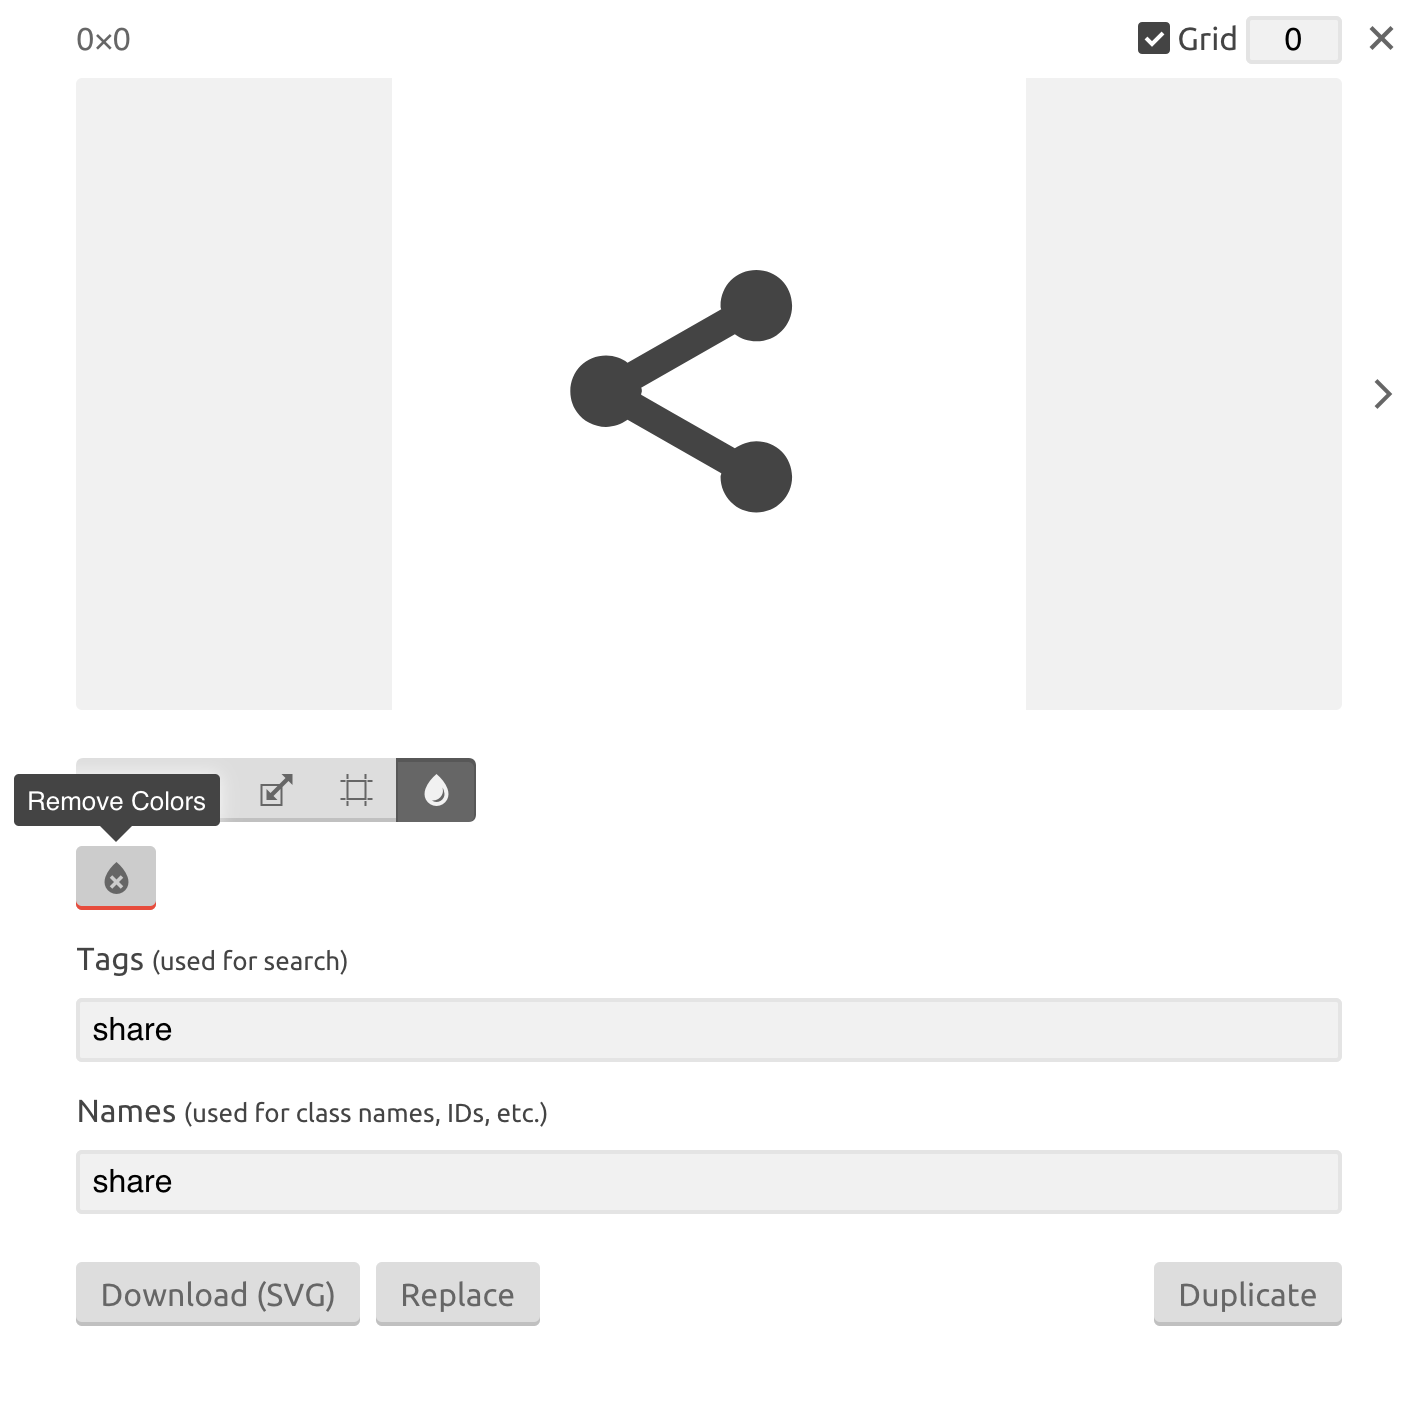
- 选择如下图的图标,点击 Alin to Center,可以使 Icon 居中
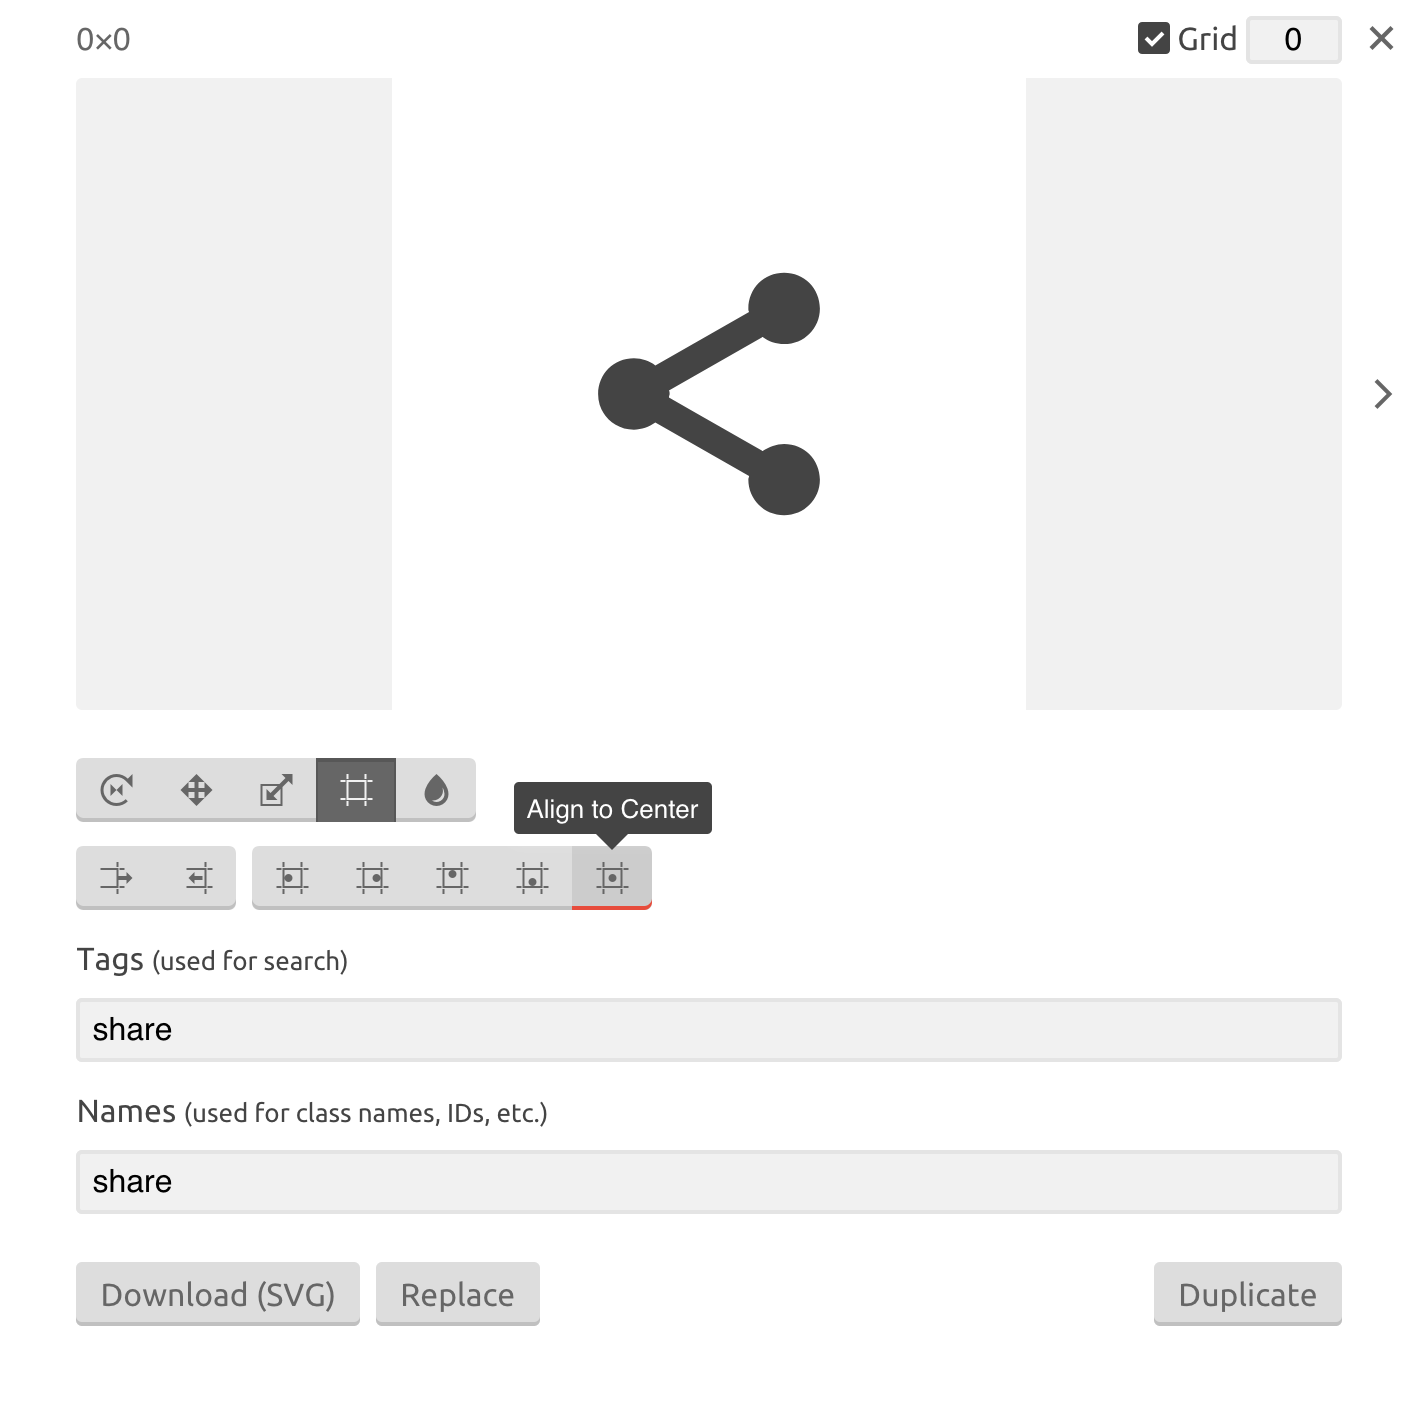
- 选择如下图的图标,点击 Fit to Canvas,可使 Icon撑满全屏
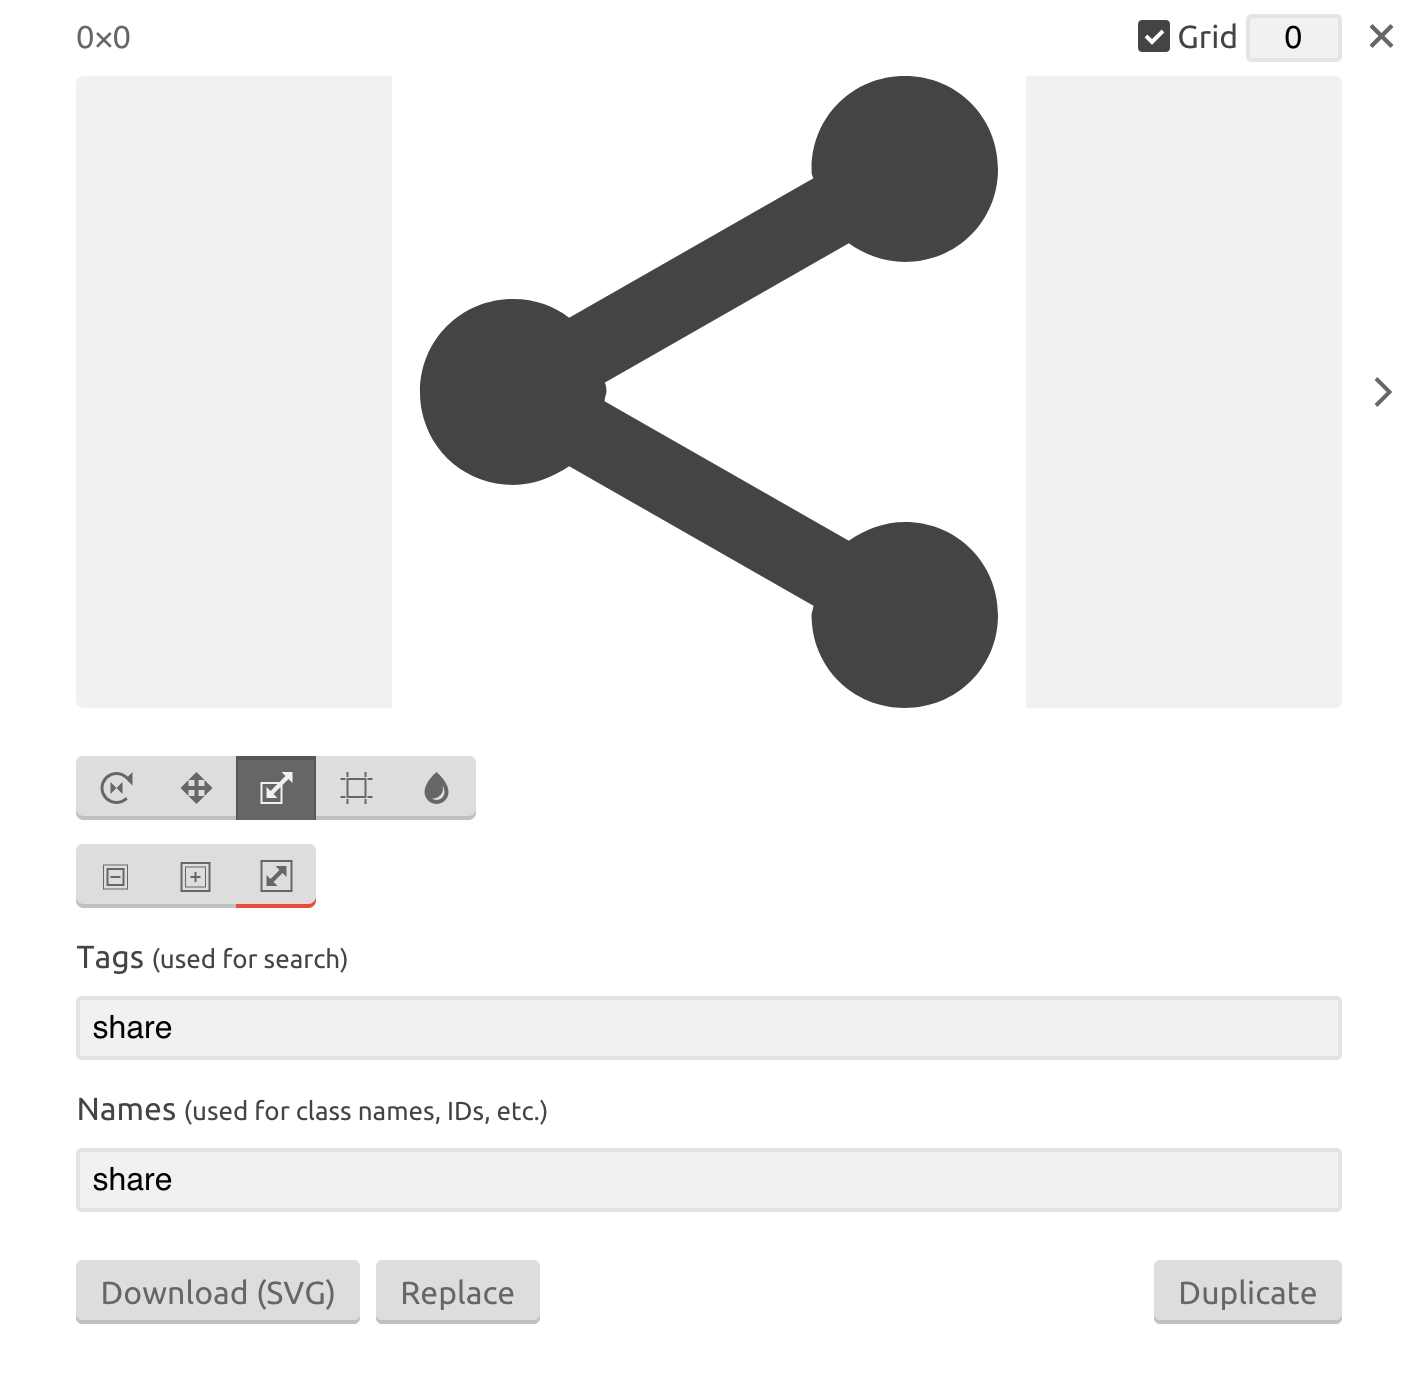
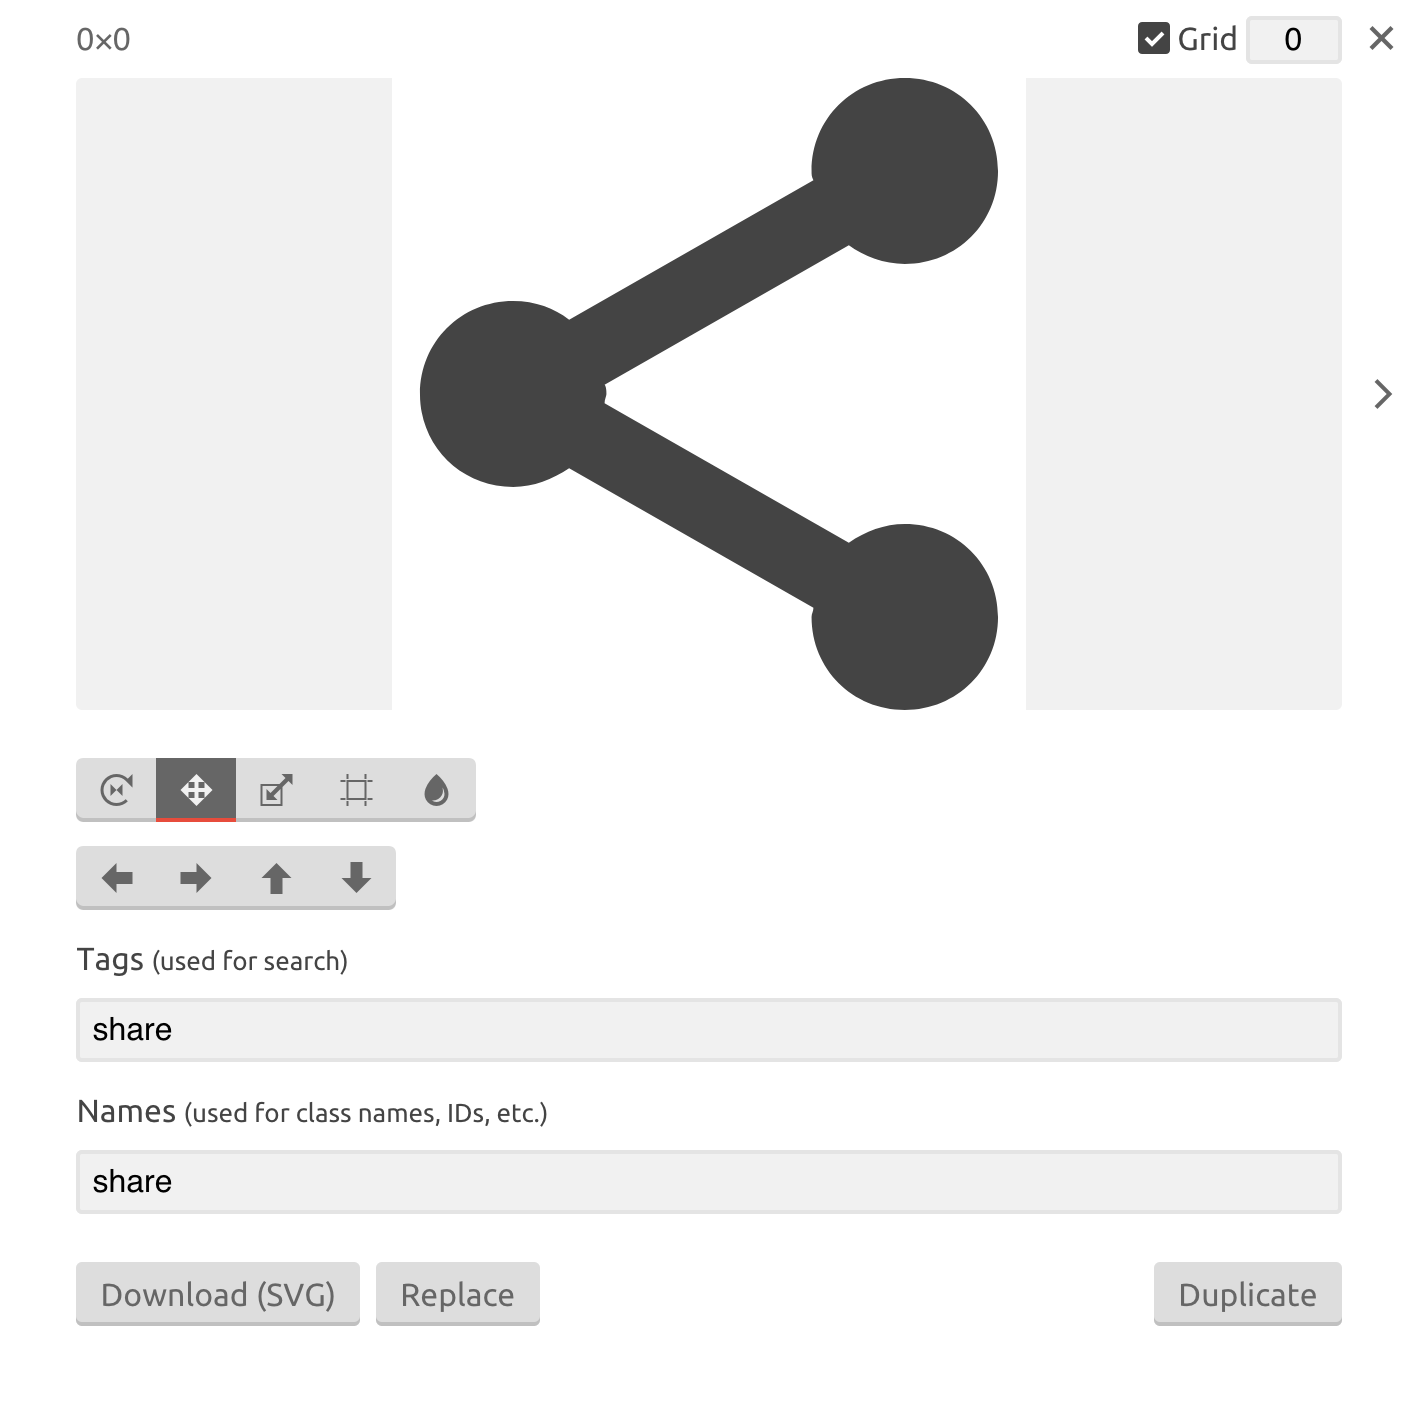
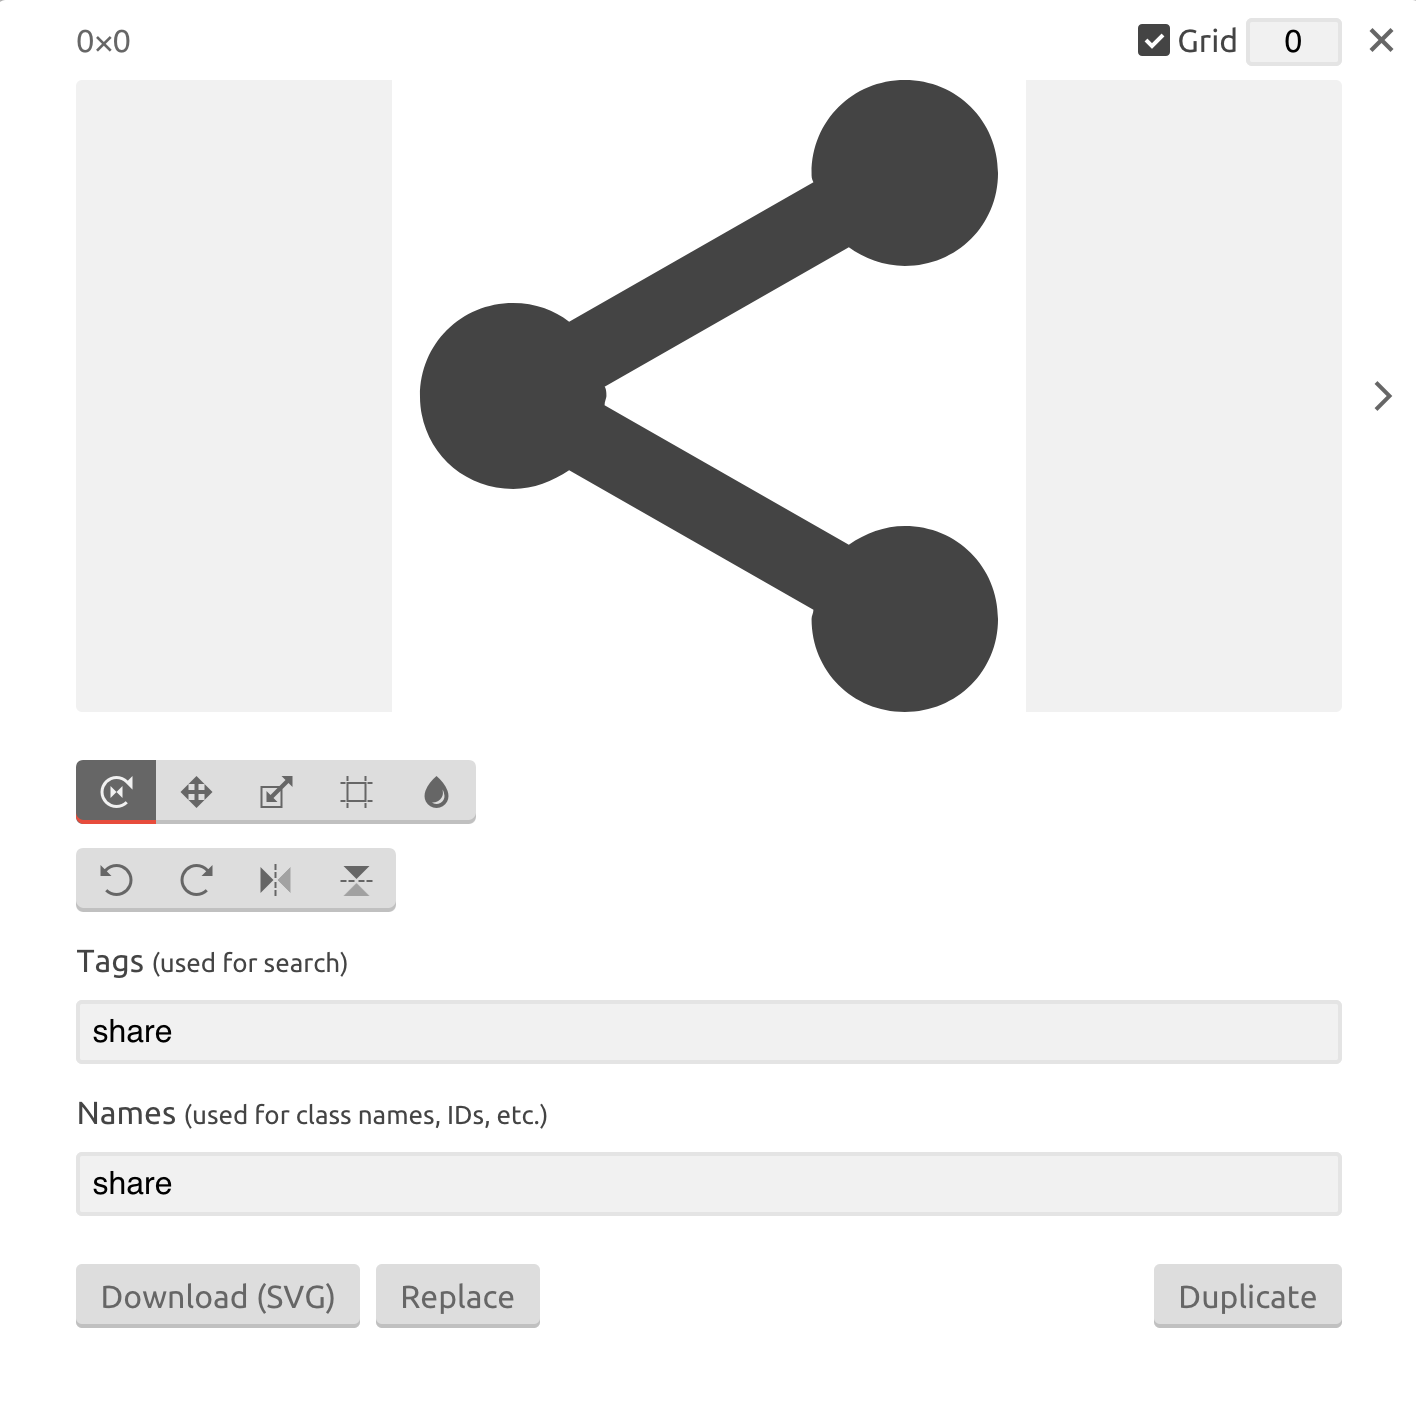
- 此外,Iconmoon 还有可以对图标进行移动、或是旋转的功能
4)删除 Icons
- 顶部垃圾箱图标为选中的状态后,此时去点击任意图标,将会删除图标

- 若是不小心误操作了,则可以按撤销键

5)生成 Font
- 点击顶部菜单中的箭头,然后选中所有需要生成 Font 的 Icons,点击右下角的 Generate Font
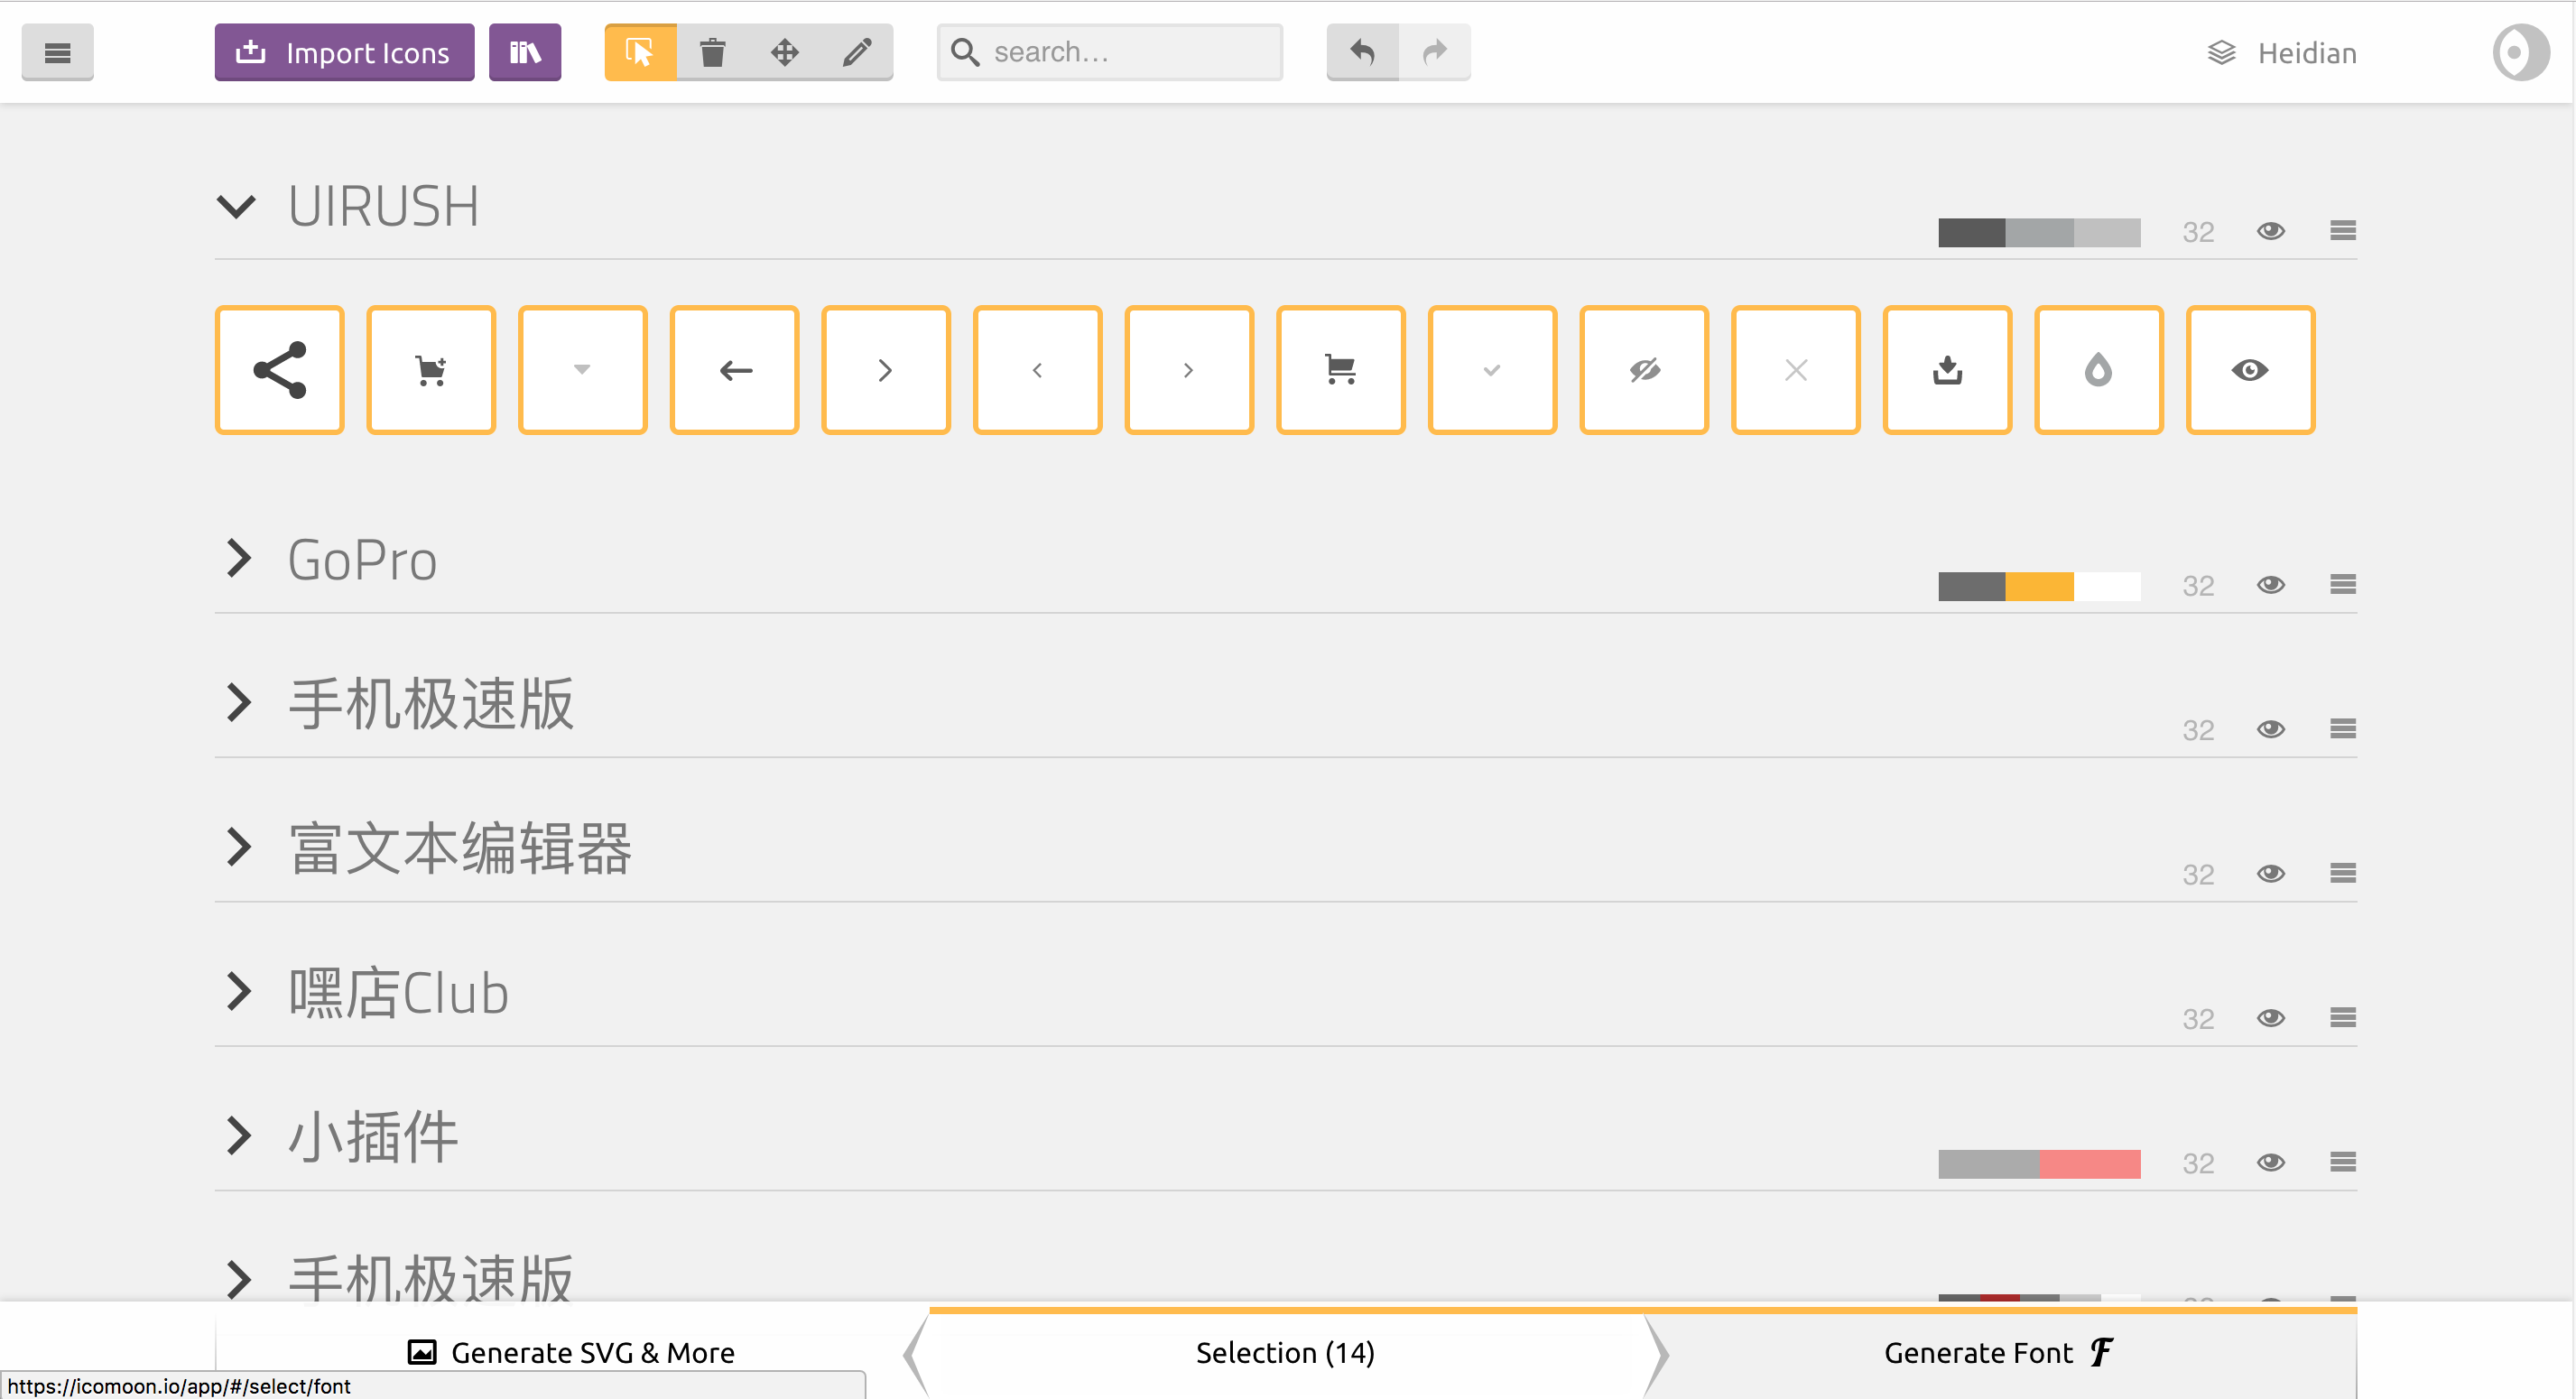
- 这时进入导出页面,点击顶部菜单的 Preferences

- 设置一下 Font Name 和 Class Prefix,这样下次再加入 Icon 导出时,文件名不会乱掉
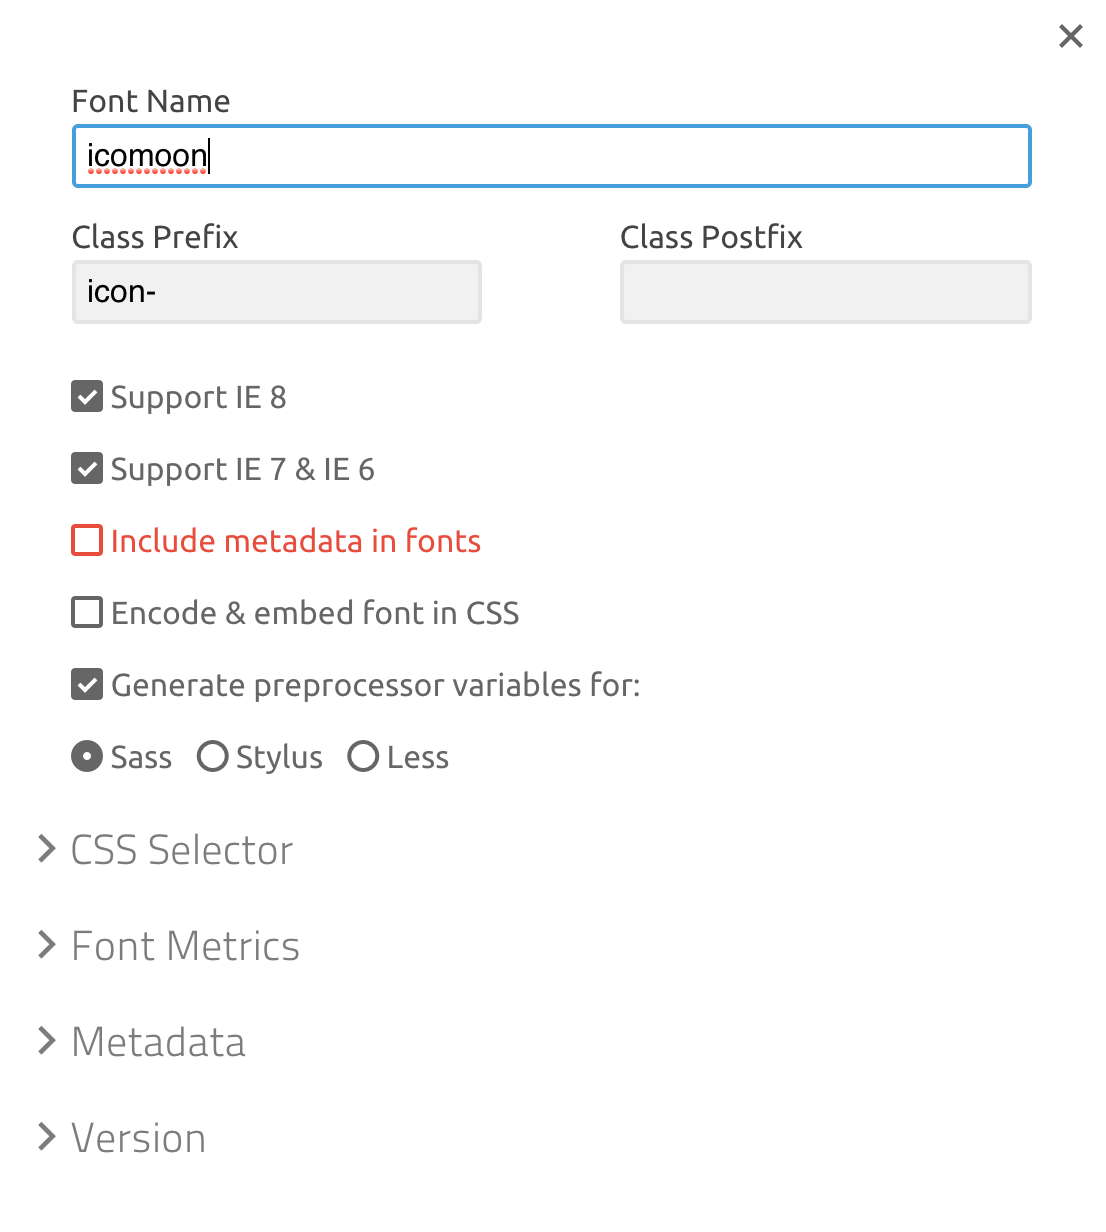
- 设置好后,点击右下角的 Font Download

6)将 Font 加入本地开发项目中
- 解压下载下来的 icomoon.zip 文件,找到 fonts 里的文件
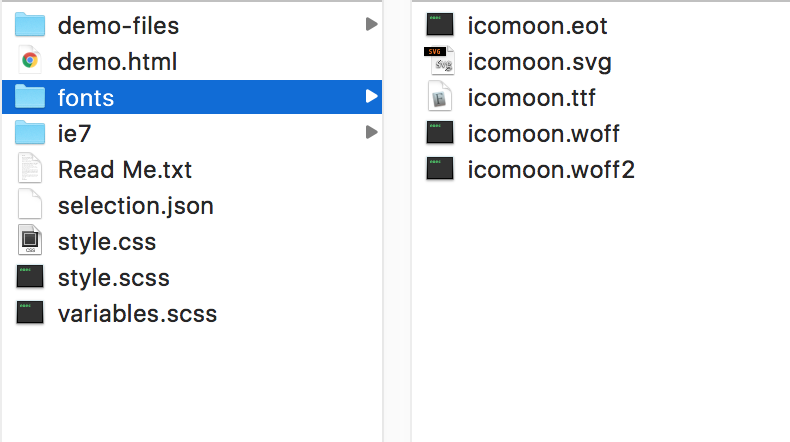
- 移动到在本地的开发文件 assets > fonts 里
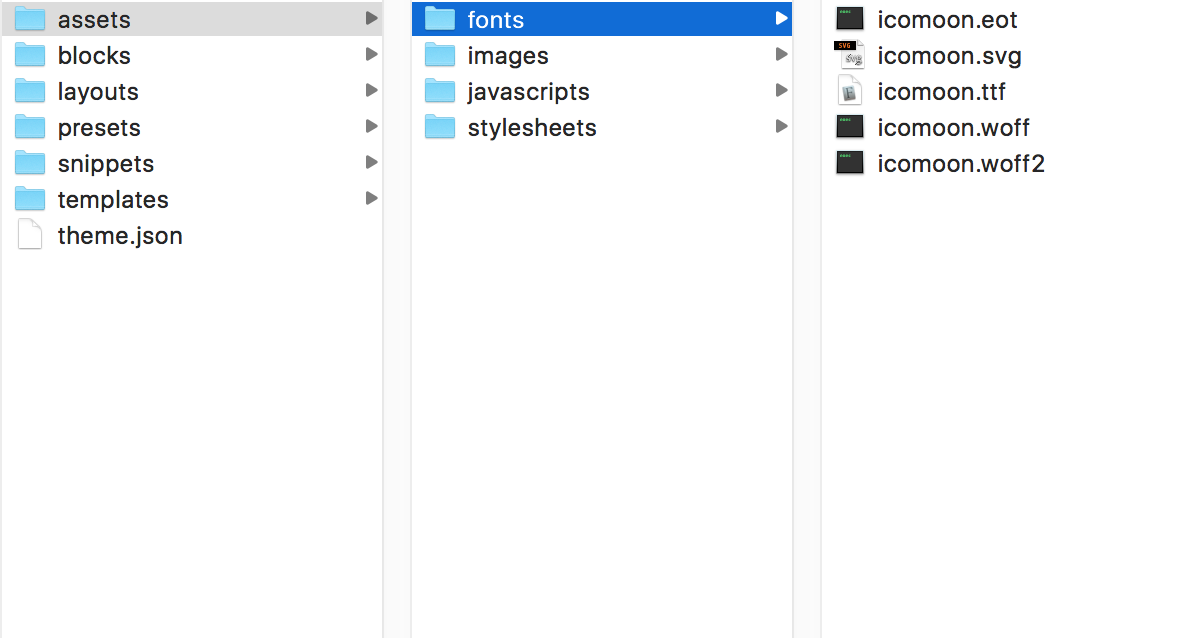
在 Sublime 的 assets > stylesheets 下,创建 _icons.scss 文件,记住在 style.scss.njk 中引用:
@import "icons";再看回 Iconmoon 解压出的文件夹,用 Sublime 打开 style.scss 与 variables.scss 两个文件
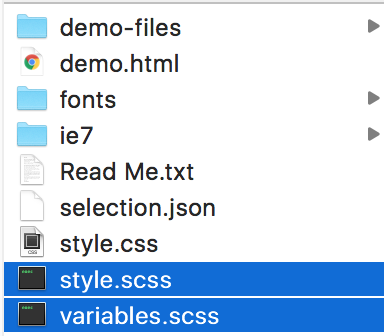
将 variables.scss 文件里的内容,全部复制粘贴到刚才新建的 _icon.scss 文件中
全选 style.scss 里的文件,也全部复制粘贴到刚才拷贝过来的代码的下面(复制前需要移删除 Iconmoon 解压下来的文件 style.scss 里的这段代码)。因为已经把 style.scss 与 variables.scss 里的文件都合并到了 _icons.scss 中,所以不需要再引入了。
删除 style.scss 里的这段代码:
@import "variables";
- 接着,在 _icons.scss 里,找到有 src 的部分,在所有的 url 前,都加上
asset-,这样才会生效。(若是页面中 Icon 显示没有生效,第一原因可以排查这个)
示例如下:
@font-face {
  font-family: 'icomoon';
  src:  asset-url('#{$icomoon-font-path}/icomoon.eot?tfwoou');
  src:  asset-url('#{$icomoon-font-path}/icomoon.eot?tfwoou#iefix') format('embedded-opentype'),
    asset-url('#{$icomoon-font-path}/icomoon.woff2?tfwoou') format('woff2'),
    asset-url('#{$icomoon-font-path}/icomoon.ttf?tfwoou') format('truetype'),
    asset-url('#{$icomoon-font-path}/icomoon.woff?tfwoou') format('woff'),
    asset-url('#{$icomoon-font-path}/icomoon.svg?tfwoou#icomoon') format('svg');
  font-weight: normal;
  font-style: normal;
}
对于 asset-的使用,查看 node_modules > heyshop-gulp-sass > heyshop > functions.scss 里有相关的定义:
/*==================================================
  Usage:
    asset-url('fonts/sorts-mill-goudy.woff2')
  which outputs in compiled css:
    url({{ "fonts/sorts-mill-goudy.woff2" | asset_url }})
==================================================*/

@function asset-url($asset){
  @return url(#{'{{ "' + $asset + '" | asset_url }}'})
}
7)使用 Icon Font
- 若是需要使用这个 Icon Font,则写法如下:
<i class="icon-i-tag"></i>
3. Theme 各页面详解
1)基本内容
每个 Block 通用 Component
所有页面均以下面的格式来包住代码。
{% component %}
...
{% endcomponent %}
Nunjucks的所有Filter: 点击查看链接
引用 Macro
例如商品列表页,先写:
{% macro products_grids(products) %}
    xxx
{% endmacro %}
然后写:
{% component %}
{% asyncset products = products.query(__query__) %}
    xxx
    {{ products_grids(products) }}
{% endcomponent %}
Class 命名
- event-tag 为同一个词
- event__title 为从属
- event__title--small 为变种
2)所有文章列表 (article_list.njk)
Filter 所有文章。
按文章的发布顺序,由最近到最早来排列,是 .sort('published_at', -1).
按建站工具里来选择限制文章显示的个数
limit(0, settings_data.limit)
即在Block的最顶部加上:
{% asyncset articles = articles.query(__query__).sort('published_at', -1).keys('image', 'name', 'title', 'published_at') %}
读取一篇article相关维度:
{% for article in articles %}
    文章图片:
    <a href="/blog/{{article.name}}">
        {{ article.image|image_bg({class: 'card-image'}) }}
    </a>

    文章标题:
    <a href="/blog/{{article.name}}">
        {{ article.title | truncate(33, true) }}
    </a>

    文章分类:
    <a href="/blog?category={{ article.category.id }}">
        {{ article.category.title }}
    </a>

    文章tags:
    {% for tag in article.tags %}
        <a href="/blog?tag={{tag}}">{{tag}}</a>
    {% endfor %}

    文章总数:
    {{ articles.length }}

{% endfor %}
Pagination页码:
{% include 'snippets/pagination' ignore missing %}
3)最新文章列表 (recent_articles.nkj)
最顶部引入:
{% asyncset articles = articles.query(__query__).sort('published_at', -1).limit(0, settings_data.limit).keys('image', 'name', 'title', 'published_at') %}
1)需要加一个limit, 此处可以写死,例如.limit(0,8)。
2)或写进配置文件里,如: .limit(0, settings_data.limit)
那么需要在 recent_articles.json 文件里加一段
{
  "settings_schema": [{
    "id": "limit",
    "title": "Limit number of articles",
    "type": "Number"
  }],
  "settings_data": {
    "limit": 4
  }
 }
那么用户即可以在建站工具里限制文章的显示数目。
4)单篇文章详情 (article_single.njk)
不需要引入任何的asyncset articles,也不需要{% for article in articles %}。
读取一篇文章的维度:
文章标题:
{{article.title}}

文章分类:
<a href="/blog?category={{ article.category.id }}">
    {{article.category.title}}
</a>

文章正文:
{{article.body_html|sanitize|safe}}
5)最新一篇文章 (latest_article.njk)
最顶部引入:
{% asyncset recent_articles = articles.query().sort('published_at', -1).limit(0, 1).keys('image', 'name', 'title', 'tags', 'published_at') %}
并设定:
{% set latest_article = (recent_articles | first) or {} %}
读取最新这篇文章的维度:
文章图片:
<a href="/blog/{{latest_article.name}}">
    {{ latest_article.image|image_bg({class: 'cover-image'}) }}
</a>

文章标题:
{{ latest_article.title|truncate(36, true)}}

文章简介:
{{ latest_article.description|truncate(96, true) }}

文章分类:
<a href="/blog?category={{ latest_article.category.id }}">
    {{ latest_article.category.title }}
</a>
6)商品列表页(product_list.njk)
商品列表页需要引入:
{% asyncset products = products.query(__query__) %}
商品分类:
{% for category in categories %}
    <a href="/search?category={{category.id}}">{{category.title}}</a>
{% endfor %}

商品列表里的所有商品:
{% for product in products %}
    <a class="" href="/products/{{product.name}}">
        {{ product.image|image_bg({class: "product-image"}) }}
        {{ product.title }}
        {% if product.price > 0 %}
            ¥{{ product.price | int }}
        {% else %}
            免费
        {% endif %}
    </a>
{% endfor %}
7)商品详情页(product_single.njk)
注:商品详情页里不需写 asyncset。
商品标题:
{{product.title}}

商品所有图片:
{% for image in product.images %}
{{ image|image_bg({class: 'image-item'}) }}
{% endfor %}

商品图片最后一张:
{{ product.images | last | image_tag }}

商品价格:
{{product.price}}

商品简介:
{{ product.description }}

商品详情:
{{ product.body_html }}

商品所有标签:
{% for tag in product.tags %}
    <a href="/search?tag={{ tag }}">{{ tag }}</a>
{% endfor %}
8)引入百度静态地图
百度地图相关
百度静态地API文档: http://lbsyun.baidu.com/index.php?title=static
AK获得地址: http://lbsyun.baidu.com/apiconsole/key
(注意选择应用类别)
http://api.map.baidu.com/staticimage/v2?ak=IPkcMs0ZvbhGBIamdmGjaOBOcrSCFHoV&width=200&height=200¢er=%E4%B8%8A%E6%B5%B7&labels=&scale=2&dpiType=ph&zoom=15&labelStyles=,1,14,0xffffff,0x000fff,1
指定百度地图链接: http://map.baidu.com/
Theme 文件相关
在 njk 文件里写:
{{ "http://api.map.baidu.com/staticimage/v2?ak=IPkcMs0ZvbhGBIamdmGjaOBOcrSCFHoV&width=200&height=200¢er=%E4%B8%8A%E6%B5%B7&labels=&scale=2&dpiType=ph&zoom=15&labelStyles=,1,14,0xffffff,0x000fff,1" | image_bg({ class: "map-image" }) }}
在 scss 文件里写:
.map-image {
    padding-top: 100%;
  }
4. Template相关
1)新增一个 Template
创建一个 Dashboard 页面
店铺 > 页面 > 新建一页,例如后缀为 /page/sign_up
本地开发环境里创建相应文件
Step 1 创建 template
theme > templates > sign_up.njk
Step 2 创建 json 文件
theme > presets > default > static.sign_up.json
本页加入代码:
{
  "template_name": "sign_up",
  "locked": false
}
Step 3 添加样式文件
theme > assets > stylesheets > templates > _sign_up.scss
再引入:
theme > assets > stylesheets > style.scss.njk
@import "templates/sign_up";
2)Template 里引入其他样式
Template 里引入 Snippets
在 templates > sign_up.njk 里写:
{% include 'snippets/header' %}
Template 里修改整体 body 的背景色
在 templates > sign_up.njk 里写:
<style>
  body {
    background-color: #fff;
  }
</style>
5. Snippets 相关
1)创建 Snippet
文件写在:
theme > snippets > header.njk
样式写在:
theme > assets > stylesheets > snippetes > _header.scss
记住引用: theme > assets > stylesheets > styles.scss.njk
@import "snippets/header";
2)引用 Snippet
在 Template 或者 Block 的 njk 文件里写:
{% include 'snippets/header' %}
6. 独立域名解析到嘿店
1)阿里云

第一条:
- 记录类型:CNAME
- 主机记录:@
- 解析线路:默认
- 记录值:cname.shop.heidianer.com
- MX优先级:--
- TTL:10分钟
第二条:
- 记录类型:CNAME
- 主机记录:www
- 解析线路:默认
- 记录值:cname.shop.heidianer.com
- MX优先级:--
- TTL:10分钟
2)嘿店后台

嘿店后台只需填写这些内容即可。
注意,自定义域名需要添加2条,例如: